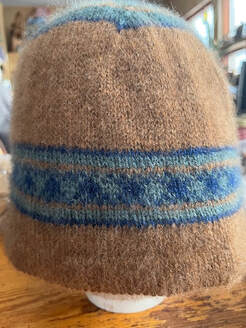
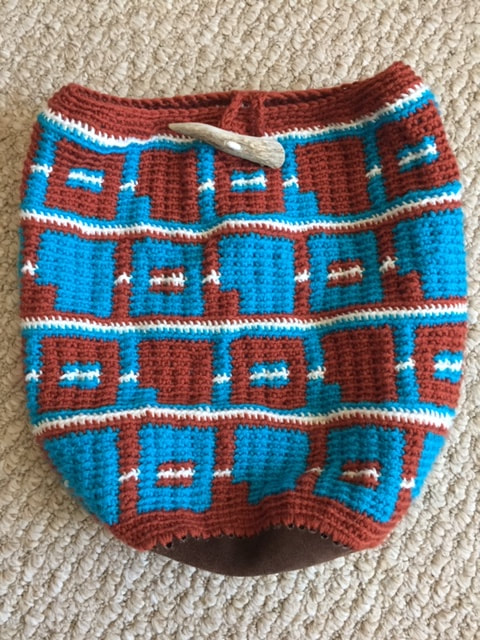
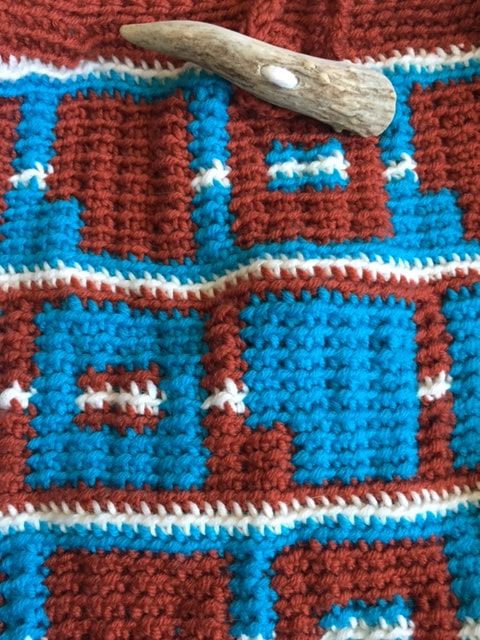
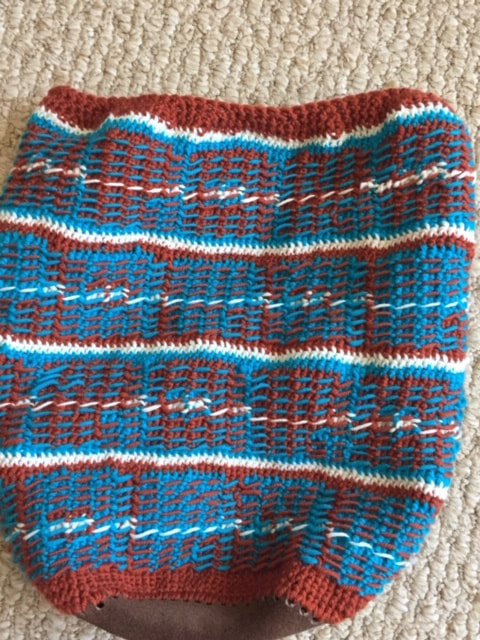
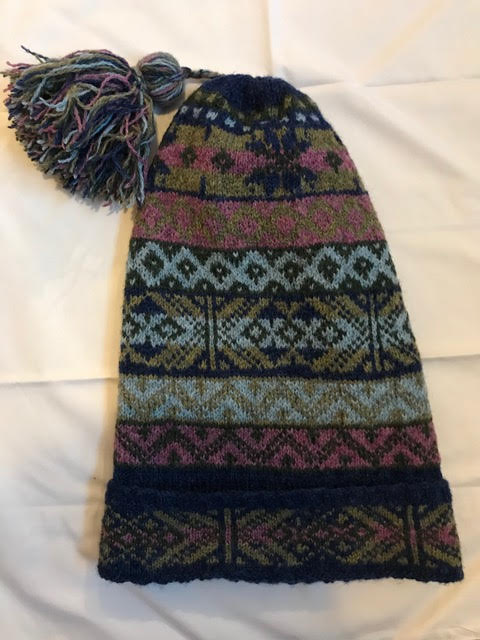
Simone's been busy. Here's her knitted hat using:
- Marmot brown - 100% quiviut from the Alaska Research Centre
- Glacial Blue 60% quiviut, 20% angora, 20% silk;
- Alaska Blueberry: 55% quiviut, 30% cashmere, 15% silk.
And Knitted mittens using Briggs & Little "Tuffy" yarn.
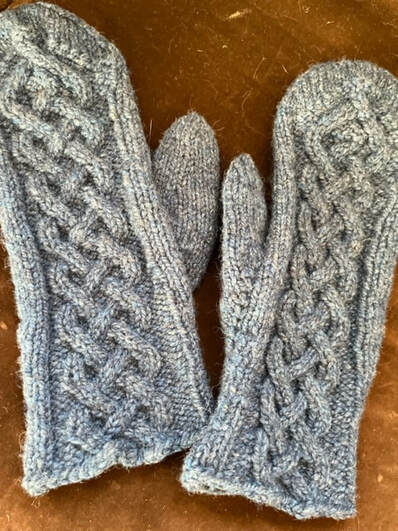
Knitted mittens using Briggs & Little "Tuffy" yarn.


 RSS Feed
